Introduction
Photography of hills and mountains has very wide appeal so what follows are a few hints and tips that I have picked up over 40 years or so of taking black and white landscapes using film cameras.
Whole books have been written on the subject but here I will just give you a few bits of advice to help you refine your technique or maybe to progress from taking holiday snaps to the start of developing a personal photographic style. Either way you will hopefully end up with images that have wide appeal and greater artistic and emotional content.
Why Black and White?
Since most people see the world in full colour the use of black and white is one step removed from reality. This forces the viewer to consider such images in terms of shapes, patterns, brightness and tones, since colours become represented by shades of grey. It becomes a medium to convey drama and atmosphere which, after a bit of practice, allows the photographer to develop very different treatments which can be called upon as different situations present themselves.

Make no mistake, black and white photography allows great creativity, arguably more so than colour. For me, it is this creativity, that appeals so much. I also try and inspire others, through my photography, to specialise in black and white and combine it with hill and mountain activities, or even just to see something in a way that they wouldn’t otherwise be able to.
As far as my style is concerned, I try and convey a range of feelings or emotions through my photographs. This varies according to the scene and the way I want to present it. Sometimes I’m looking for the grand view and the beauty of the scene. At other times I may look to portray the awesome or frightening nature of some mountains or, the way the same scene can change when taken at different times of the day or year.
Composition
‘Rule of Thirds’
This is a useful guideline for photographers. It recommends that the photographer mentally divide the picture into 9 equally sized sections using 4 lines, rather like a noughts and crosses board. Placing important elements on either the lines themselves or the points where they cross one another often makes them more pleasing to the eye, in the final image. Be careful to use it as a guideline and not a rule.
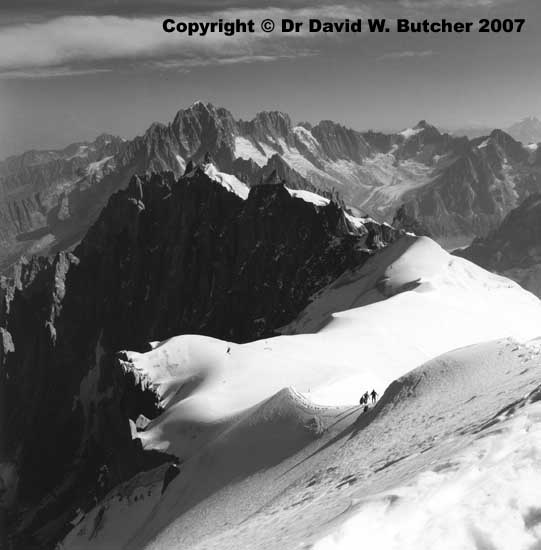
People in Landscapes
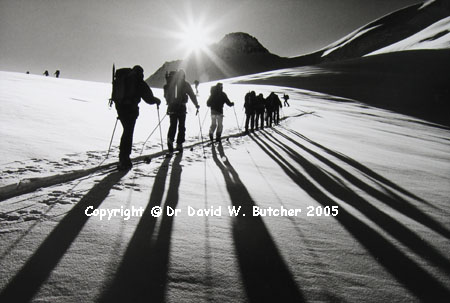
Some scenes work without people in them while others are improved by the scale that people give to an image. If you’re not sure, try both and decide later. If included, an uneven number of people (1, 3 or 5) will give a more pleasing result than an even number but it very much depends on the arrangement of the people. Try and avoid an overlap of people in the shot or the result can appear confused or difficult to make out. Sometimes figures can overlap but they appear to be separated by their shadows, as here in my ski mountaineering shot near the Eiger in Switzerland.
A Simple Truism
The simpler the shot, the better it works. Don’t cram lots of things into your images. Use your zoom lens, or change lens, to cover only what is important.
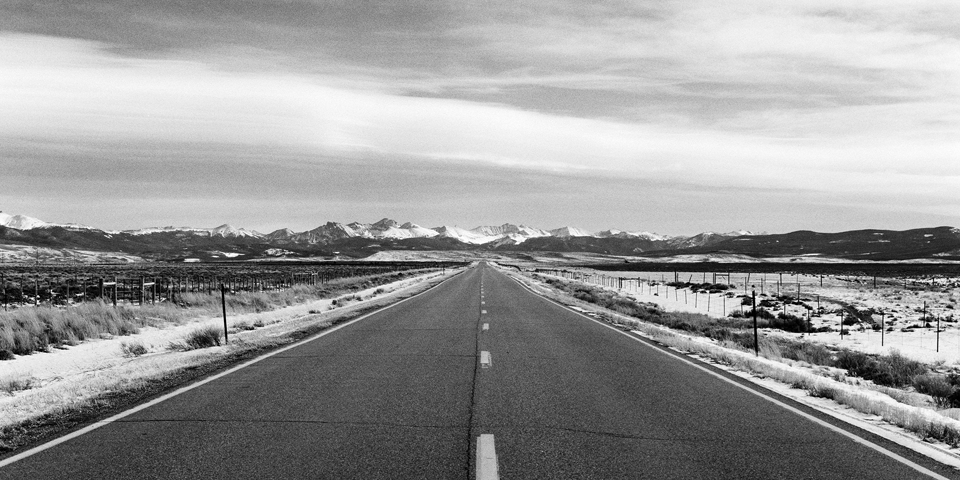
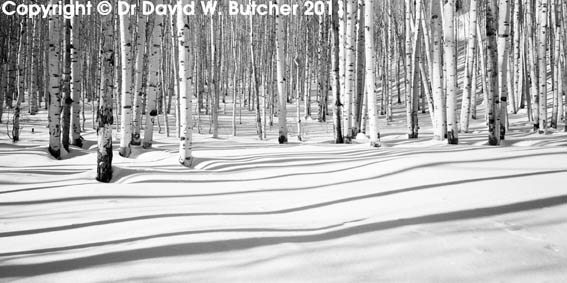
Lead-ins
Use these to take the eye of the viewer from the edge of the image to the centre of interest (but not so far that it leads out of the sides or the top; this can weaken a picture!). Examples include walls, streams, mountain ridges or shadows.
Foreground Interest
This is another important element to pictures. This can be something like a shapely rock or tree, grasses, a rucsac, in fact anything that adds to the rest of the image without overpowering it. However, whatever you include in the foreground it needs to be in focus so pay attention to the depth of field settings that you are using (see later).
Check the Edges
Before you press the shutter button look around the edges of the viewfinder for any distractions that you can remove by slightly changing your zoom, position or height at which you take the picture from. You may be surprised by how much you can improve an image just taking a few extra seconds to do this.
Exposure
Using the correct exposure is essential. You can often make prints from poorly exposed negatives or digital image files but they won’t have the same impact as one that is correctly exposed, something will have suffered at one end of the exposure scale or the other. The simplest way to set the exposure is to use the automatic setting on the camera. Unfortunately, this doesn’t always work for film cameras and a degree of manual adjustment may be needed.
Metering for Film
Adjust for harsh lighting by taking the reading from mid-tones (grass and rocks in subdued light often fall into this area) or, if desperate, in high mountains with just sunlit snow everywhere use the back of your gloved hand (a dark coloured glove is best!). A separate meter can also be used and this is what I use all the time but the extra weight may be an issue. I always use it in spot meter mode and point it at suitable mid-tones or light shadows and average the readings.
Note: There is no light meter able to tell you what exposure to use for sunlit snow, or even the average scene. It depends on where you point the meter and relates to an 18% grey reflectance, not an easy thing to work out under normal circumstances let alone in the mountains! If all else fails start with the meter reading from the camera but add 2 stops and bracket around this exposure. Never point the meter towards the sun unless you want a silhouette with no detail in the shadows. Practice makes perfect!
The old adage for negative film users is to expose for the shadows and let the highlights take care of themselves. This is something of an over-simplification but indicates the importance of avoiding underexposing the shadow areas or there will be no detail to print for these areas.
Lighting and Weather
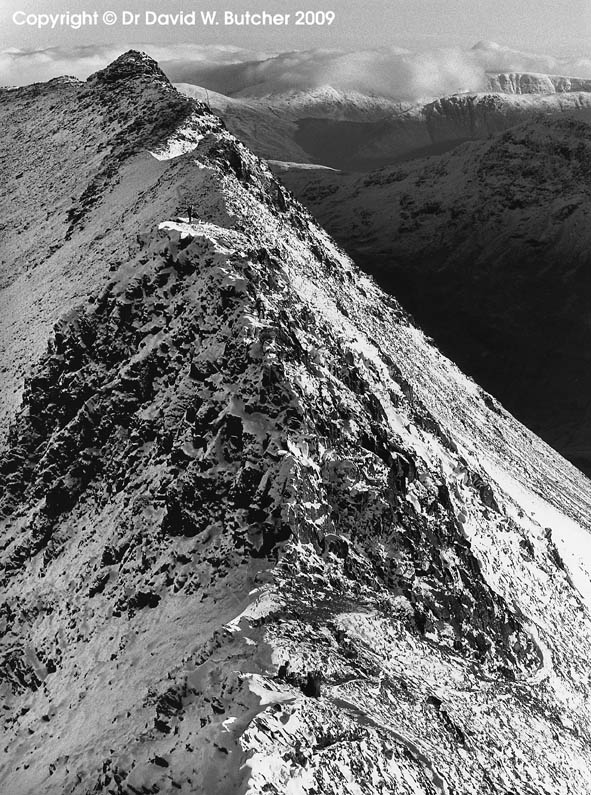
This is what really makes or breaks a shot. It is also what makes landscape photography so appealing to many. There is no such thing as the ‘definitive landscape shot’. By this I mean there is always something different that can be seen so even the most familiar scene can provide an interesting subject. Weather and lighting can provide infinite variety so that even somewhere as popular as Striding Edge in the English Lake District can still produce striking new images.
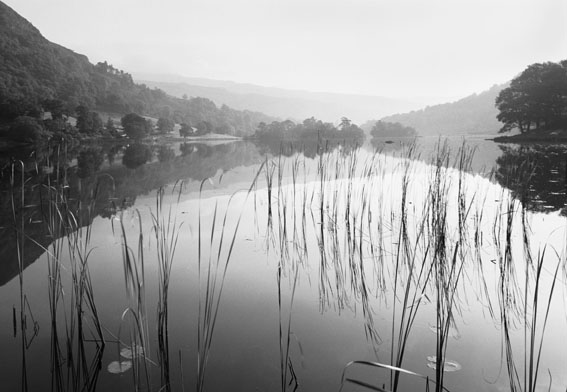
Often the most atmospheric shots are obtained just after a storm has passed so be ready and don’t leave your camera wrapped up safely in the rucsac for too long! Also, don’t be afraid to take shots when it is hazy. Some of the most effective landscapes are those taken on hazy days because it can emphasise the depth in a picture. When someone refers to a photo having good recession it is this depth that they are referring to. A series of mountain ridges fading into the haze can be stunning in the right lighting conditions. Haze and mist can also hide clutter or distractions in the landscape, or simplify an image to make it more striking.
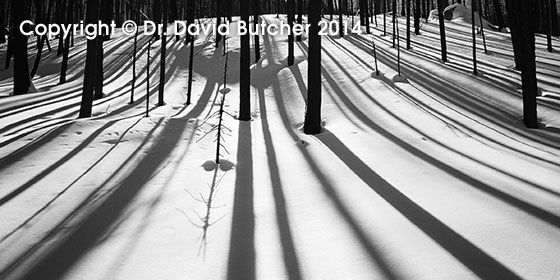
Taking photos directly into the light can produce some very powerful images with strong shadows. You can see several examples of this in my gallery images. The shadows will be longest and most dramatic when the sun is low in the sky (early or late in the day or any time in winter).
If the sun is included in the image it is best to stop the lens down to f22 to create a star-burst effect around the sun without the need for any special filter. Good quality lenses are needed for this to avoid excessive lens flare. If you intend to take this sort of picture then lens quality should be higher on your list of priorities when choosing a camera.

Landscape photography does give you time to set up your shot – most of the time. However, when the weather is changeable you need to be ready and work fast when the opportunity for a shot presents itself. Don’t be afraid to take more shots than you intended to when you find a good viewpoint. It is often the case that one of my extra shots works better in the final image than the one I originally planned. By the time you are working on your images in the darkroom it is too late to start wishing you had done something different!
My Landscape Photography Books
I have written 3 landscape photography books, they each have their own website with more details and copies of several pages of each of the books. Just click the links below to see more. They are all still available.
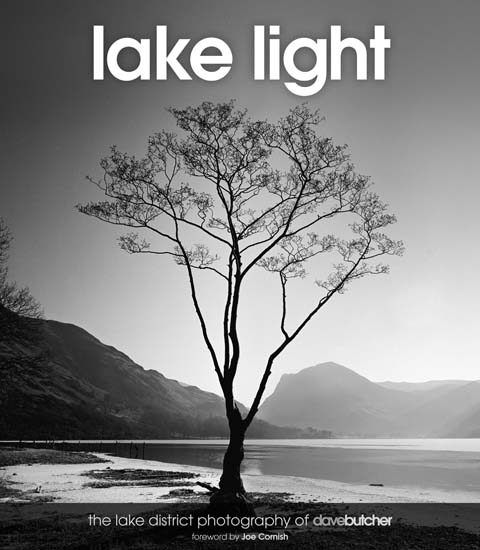
Lake Light, Lake District Landscape Photography
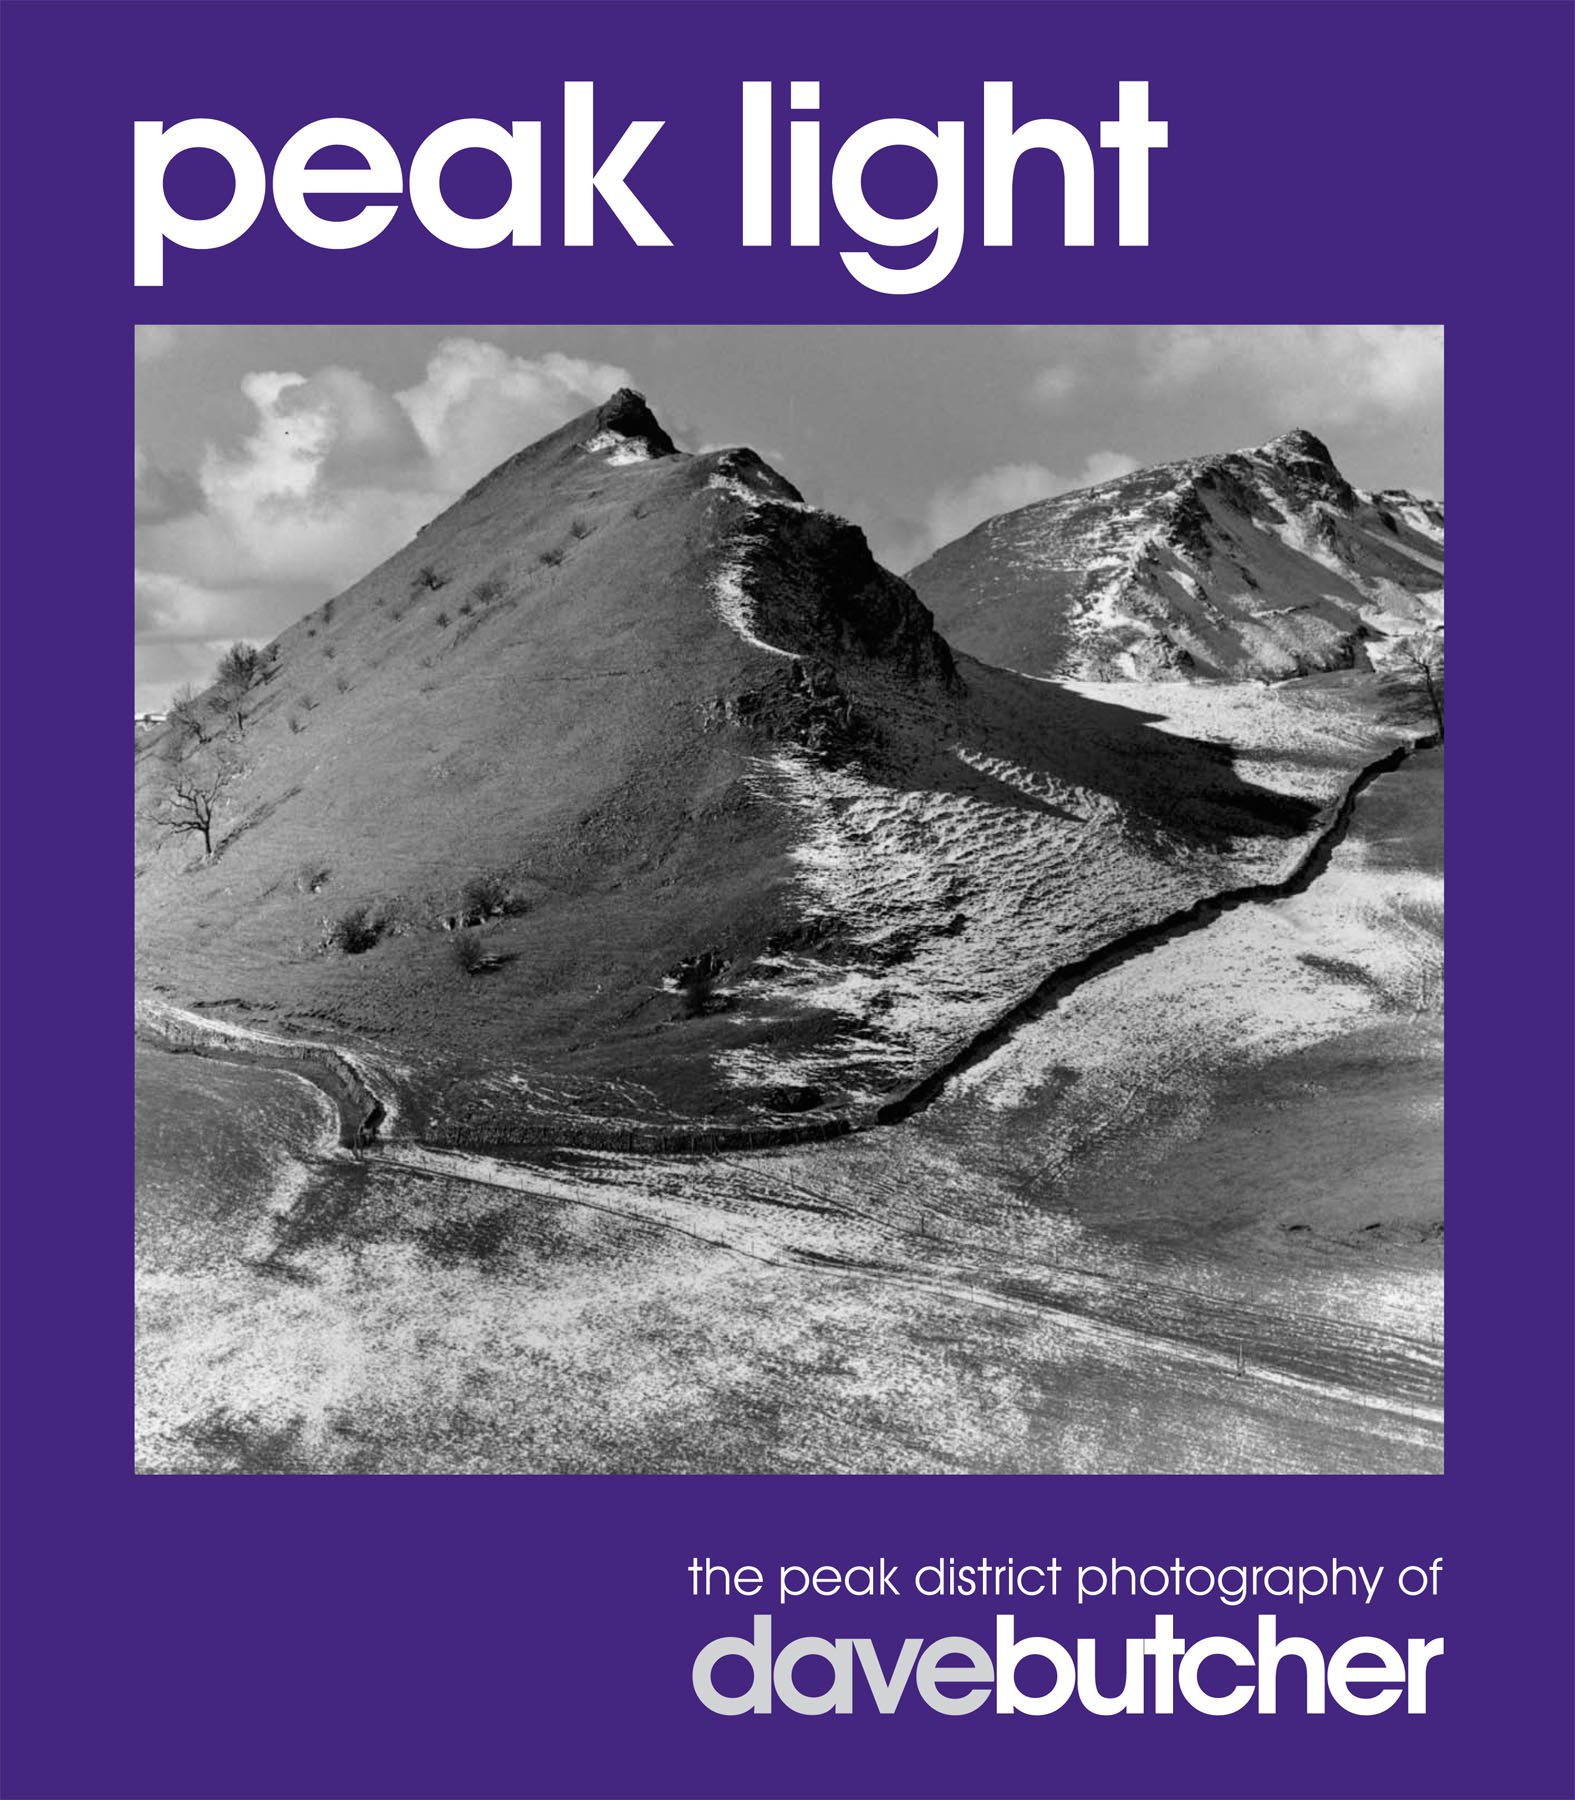
Peak Light, Peak District Landscape Photography
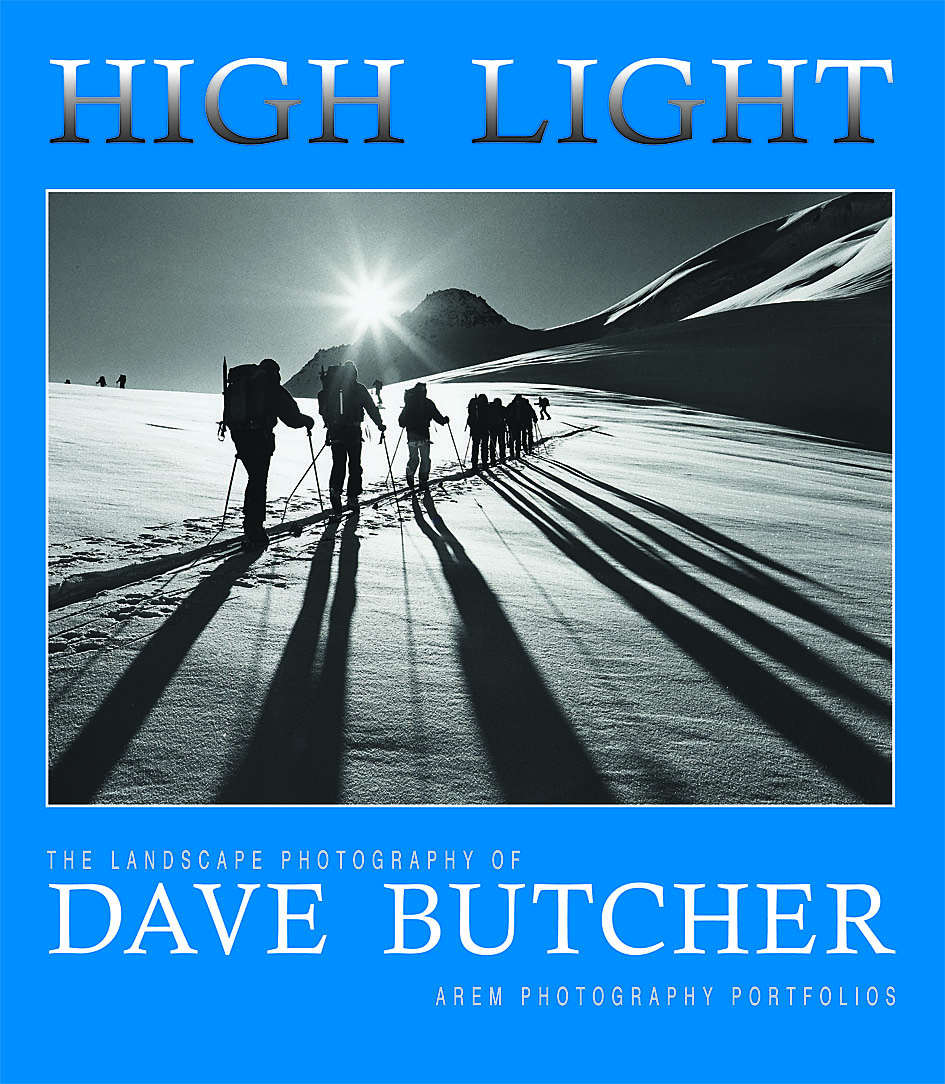
High Light, Hill, Mountain and Skiing Landscape Photography