Photography in the dark requires some different techniques to normal and a bit of patience. Using film means that I can’t see if the exposure is wrong until the films are processed. To get around this I always bracket my exposures in 1 stop steps (a stop is a doubling or halving of the exposure, depending on which way the change is made).
Separate meters have limited use at night but can be useful before it becomes truly dark. My Sekonic spot light meters have a maximum sensitivity of 15 seconds at f 5.6. If I need longer than this it gives the message E.U., which means pack up and go home! In fact it just means you are on your own so it becomes guesswork beyond this.
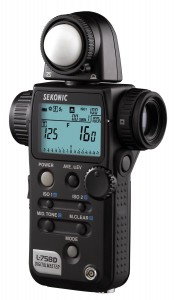
Sekonic L-758
For me I bracket by doubling the exposures, 8, 16, 30, 60, 120, 240 seconds. I choose which 2 or 3 exposures to use depending on the scene and experience; I’m quite good at judging how long I need just by looking at the scene.
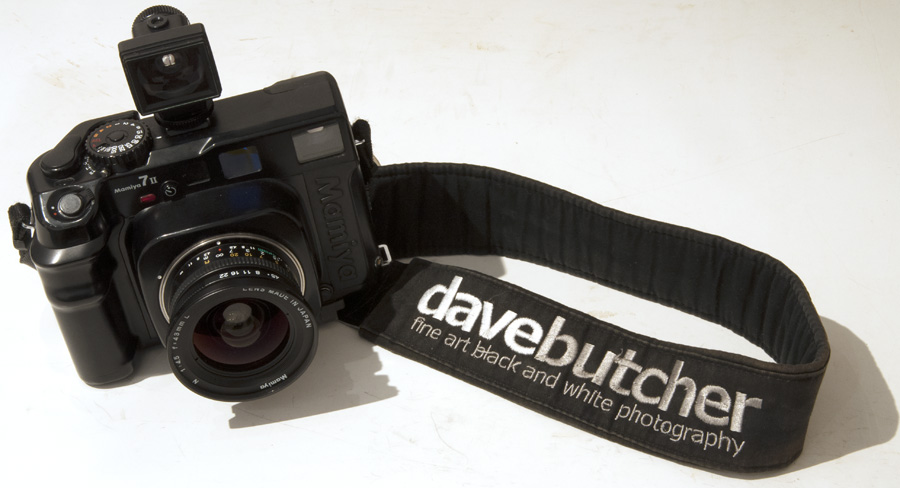
It is essential to use a tripod as the exposure times are often many seconds to several minutes. I don’t know about you but I can’t hand hold at these times! I use carbon fibre ones for lightness, such as the Gitzo GT1541 and prefer Manfrotto quick-release tripod ball-heads to Gitzo ones.

Dusk is often the best time for night shots as you can have the feel of a night shot as building and street lights will be turned on but you also have detail in some of the shadows and the sky. If it’s broken clouds and maybe a windy evening they can look great too.
Dusk doesn’t last that long so know when it is and make the most if it. Once it’s properly dark you can still take photos but you need to choose better lit subjects. Once dark, exposure times can be minutes not the more usual fractions of a second used during daylight hours.
If you have worked out the exposure for a shot and then want to move further away remember that as you double the distance to your shot the exposure time will increase by 4x, not just double. In addition, at really long exposures film reciprocity means that when you double the exposure time the real increase is quite small (and nowhere near double) so you are always chasing the sensitivity of the film in this area.
If you put anything bright in the foreground chances are it will overpower the picture so avoid having bright lights close to the camera. Try not to have anything so close to the camera that you need to close the lens down to keep it in focus. This also lets me use the lens almost wide open at f5.6 (1 stop closed down from f4 maximum) to keep the exposures shorter so film response is still reasonable. I use f5.6 or f8 for most of my night photography. It’s important that you become familiar with your own lenses.
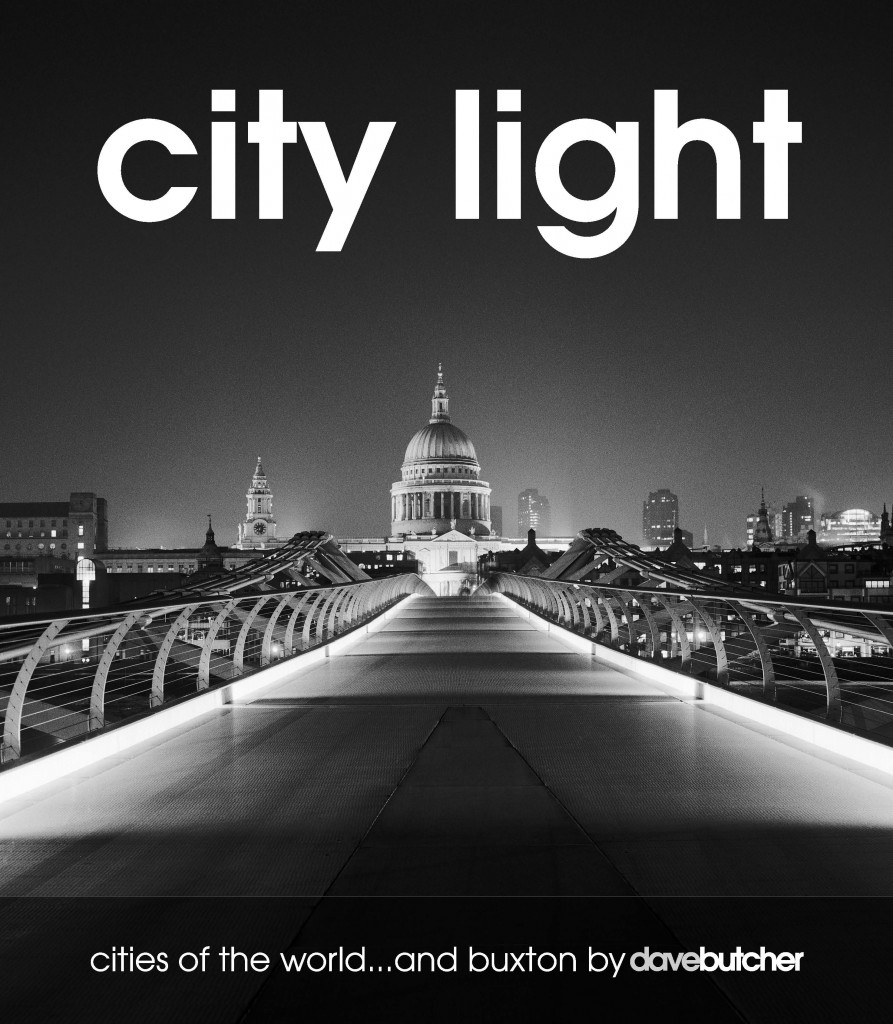
Long exposures have advantages as they can make otherwise busy pictures appear free of people, as long as they keep moving! For example, the front cover image of my City Light book was taken at about 8.30pm and it looks free of people. In fact there were quite a few people crossing the Millennium Bridge in London but with a 2 minute exposure time and the fact that they did not stop meant that they hardly registered on the photograph.
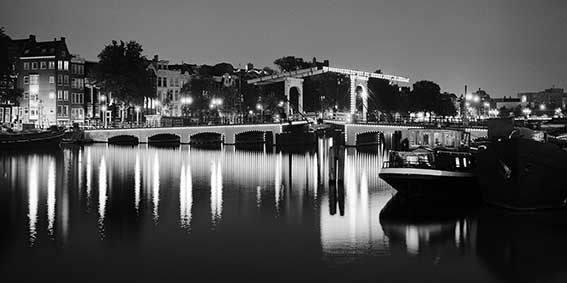
As the time when it gets dark changes through the year a photographer has to be both patient and adaptable. A bit of common sense is also needed so don’t organise a night photography trip to the Orkneys or Scandinavia in June, for example, or you will be disappointed by the lack of darkness! In the summer taking night photographs means late nights. The Amsterdam night image was taken in early July between 11pm and 1am. On the other hand in winter you can start taking night photographs from about 4pm in December.
Buildings seem to be better lit in the winter months too. I think this may be because when people leave work and it’s still light outside they can switch off their office and building lights as they leave. In the winter they don’t do this. Check it out to see if you agree.
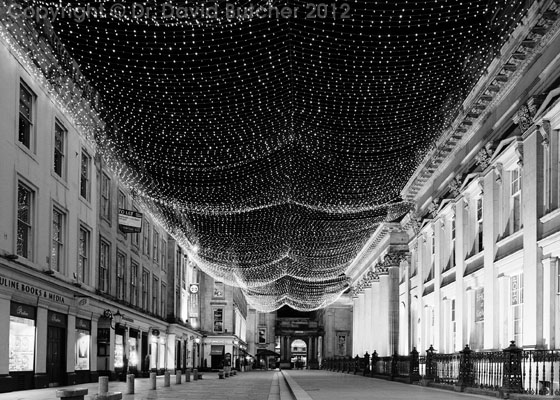
Christmas is a good time for night photography as even poorly lit areas are often transformed into bright interesting subjects, as here in Royal Exchange Square in Glasgow.
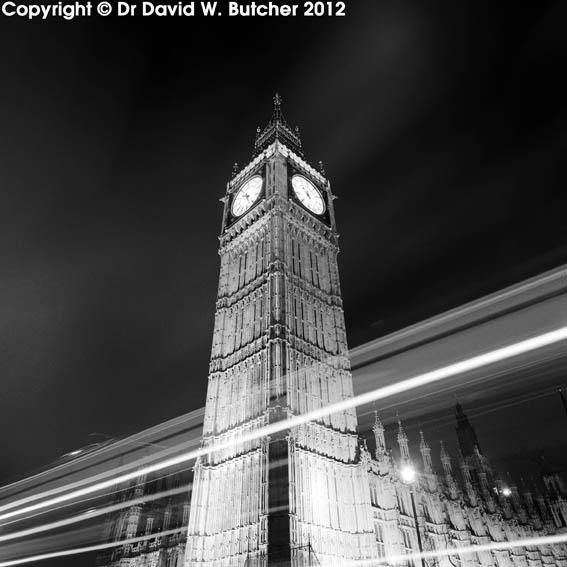
Light Trails are quite interesting too, as in the Big Ben image above. I find that it’s best to try and have an exposure time that allows them to run in and out of the picture. If the exposure stops before they reach the edge of the frame it looks odd.
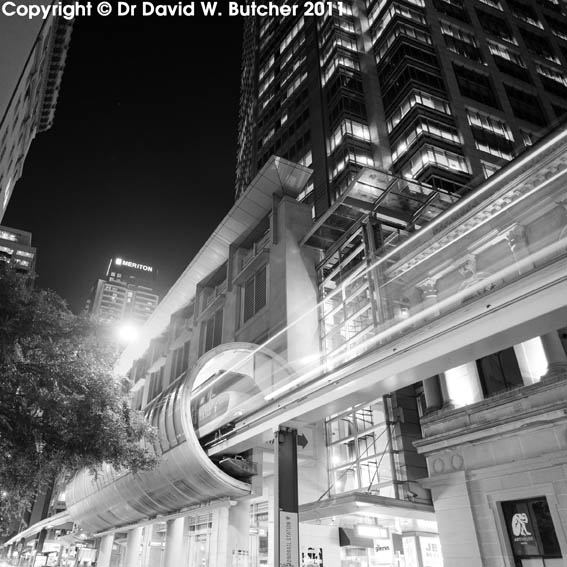
Combining more than one exposure in-camera can also produce a little bit extra to your pictures. The Sydney monorail image here is actually 2 exposures on the same film negative. One exposure shows the train sitting in the station, the other gave the light streaks leading up to the train. If you want to do this work out what exposure you think will work, divide it by 2, use half of the exposure time for each exposure.
Autofocus doesn’t work very well in low light. The camera will continually try to focus which will rapidly drain your battery. Turn it off and use manual focus to avoid running out of battery.
At night, unless you find yourself under a street light it’s difficult to check camera settings, focus, or find equipment in your camera case. A small LED torch is invaluable to help you in such conditions. Even better is an led head torch with a red light. This is bright enough to let you change settings or find equipment but doesn’t affect your night vision. A head torch also keeps your hands free. If you use a bright white light it will take a few minutes after turning it off to recover your night vision.
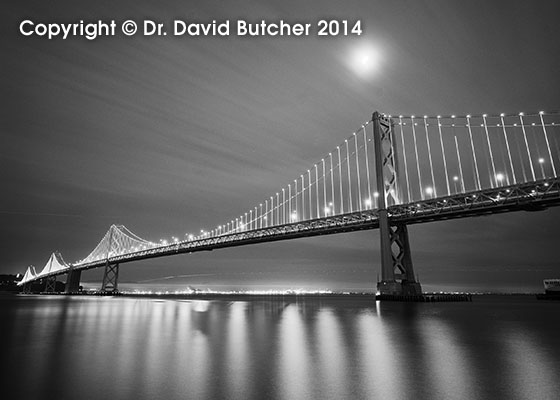
If you would like to include the moon in your night photographs it helps to use something like the Google Sky Map app for Android smartphones which predicts the position. This can be used on location too, you just load the application and hold your smartphone up to the sky and it will show the position of the moon over your location as you change the time.
The most important aspect of night photography is to practice and make notes of the exposure times so that you quickly build up a knowledge of what works and what doesn’t.