I use Mamiya 7 medium format cameras and work exclusively in black and white with Ilford FP4 film.
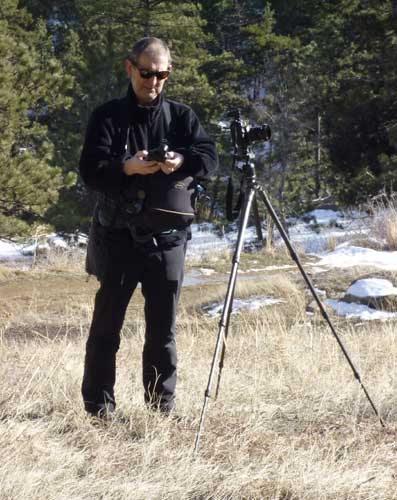
- Dave Butcher taking a meter reading before photographing the Flatirons in Colorado
With only 10 shots on a roll and bracketing of 2 negatives to each shot bringing it down to 5 shots a roll I need to know I have the shot when I press the button, that’s why I use the Sekonic meters. I mainly bracket in case there’s a defect on the negative because of processing or coating faults not because of any uncertainty over exposure.

Sekonic L-758
I mostly use a Sekonic L-508, because it’s smaller and lighter, but also have an L-758D as a backup. They both go on all my photo trips with me. I’d be lost without them! I have used Sekonic meters for nearly fifteen years now and use them all the time, never the camera meter.
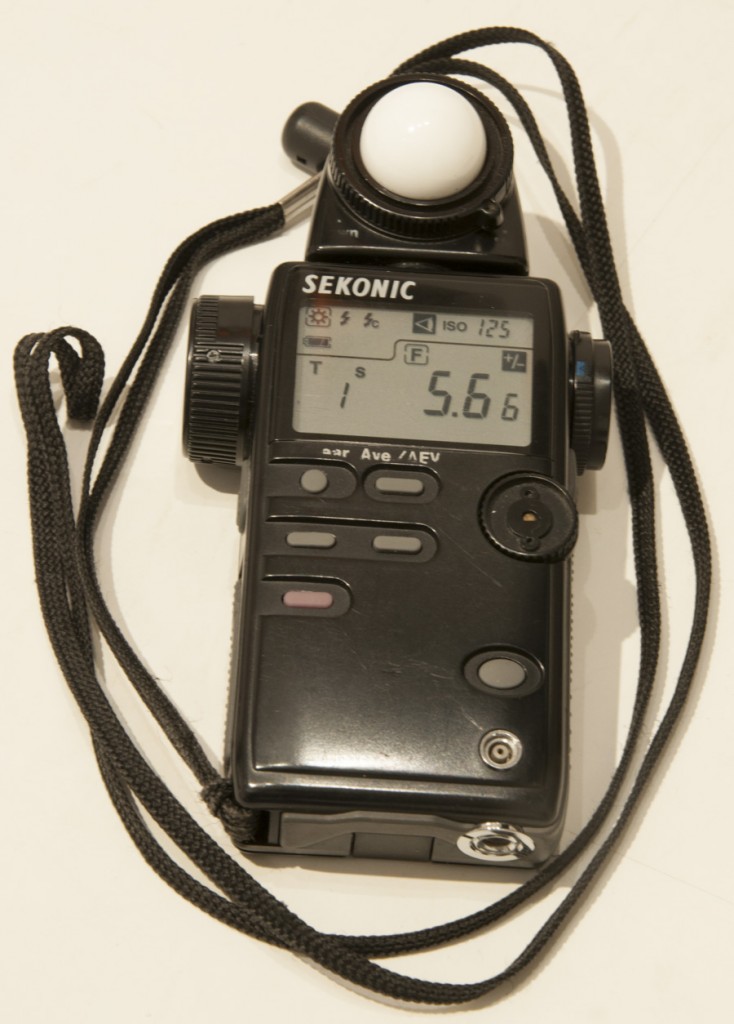
sekonic-508-light-meter
I use the spot meter on the narrow zoom setting (why did Sekonic put anything else on the 508 meter?) and point it at light shadows. These are areas where I want to keep full detail. I dial in the filter adjustment (for the coloured filters that I screw onto the front of the lens to change various tones in the image) as needed before taking any readings. The Ilford FP4 film is rated at the full film speed of 125 ISO and it gets normal development in the processing. This gives me pretty easy negatives to print in the darkroom, usually just the 2 basic split grade exposures (one low contrast and one high) and maybe some burning in of the sky. That’s it, I never over-print my images and I like to see detail everywhere but with good overall contrast.

Aspen Shadows #1 Colorado
This shot was taken at McClure Pass, between Telluride and Aspen in Colorado. Sunlit snow with shadow areas in the shot is always a difficult subject. I metered off the tree trunks in light shadows. It was quite a tricky shot to take as the snow was a few feet deep and didn’t support my weight. This meant I had to crawl over the snow to spread my weight, then put the tripod up, camera on top, meter and then check the composition by trying to look through the viewfinder without sinking into the snow. After a few goes I managed it without moving the camera!
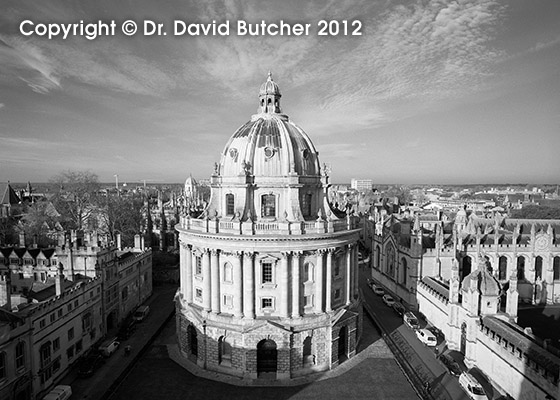
Oxford Radcliffe Camera from St Mary’s Church Tower
The Oxford city shot was taken in November 2012. I needed some Oxford images to balance some Cambridge ones for my book City Light on cities around the world that came out in March 2013. I had just 4 hours in Oxford to get the shots that I needed so I had to work fast and know my exposures were spot on. Sunlit light coloured stone presents similar exposure problems to sunlit snow in that if the meter is pointed straight at it the reading will give under-exposed negatives. In this example of the Radcliffe Camera building I metered off the shadowed walls on the left, not the deepest shadows in the doorways but the lighter areas of the walls. This gave good details in the darker areas as well as in the highlights. The sky was just darkened with an orange filter I didn’t need to do anything else in the darkroom.