Camera
Choose a camera that is light, robust, easy to use and preferably has a built-in meter.
Decide what format you want to use: 35mm or medium format 120 film.
35mm film negatives are 3.6 x 2.4cm, 120 negatives can be lots of different sizes from 6 x 4.5cm, 6 x 6cm, 6 x 7cm, 6 x 9cm and larger.
You have the choice of rangefinder or SLR cameras for both film formats. The latter have every feature you could wish for but are bulky and can be heavy. Rangefinders are small, light and, if you choose one with a good lens and manual settings, can give excellent results. They are not good for still life and close-ups as you don’t look through the lens but instead use a small window in the top left of the camera, so composition is difficult for these subjects.
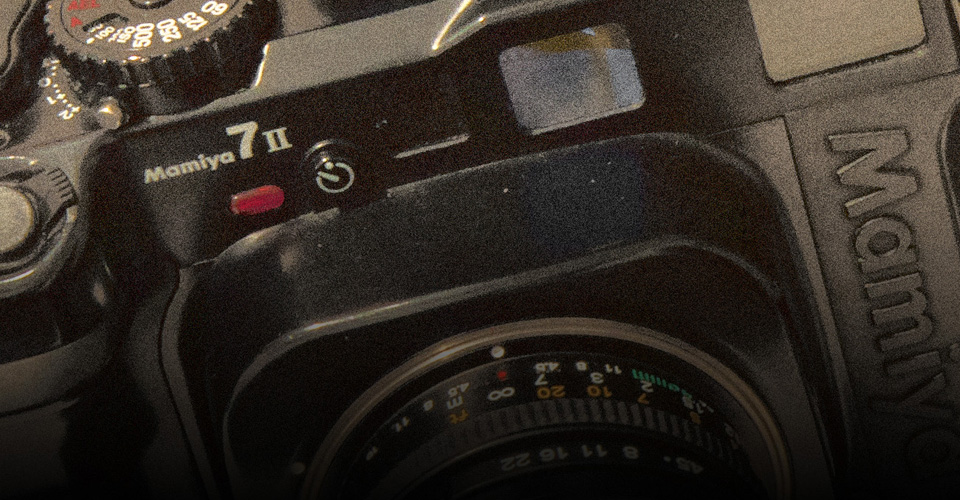
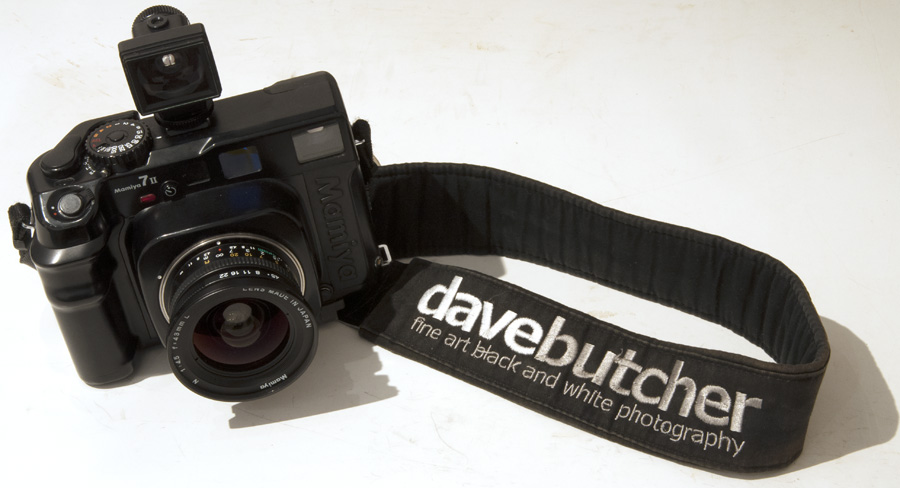
If you want the higher quality of medium format film photography the rangefinder designs, such as the Mamiya 7 that I use, are by far the easiest to handle and lightest to carry.
Some suggestions for 35mm cameras: Any Leica rangefinder, Nikon FM, FM2, FM3 , FE or FE2, Pentax ME, MX, Olympus OM1, OM2 and lots of others.
Suggestions for medium format cameras: Mamiya 6 or 7, Fuji rangefinders. Medium format SLR film cameras are really heavy and cumbersome to use and I would not recommend them for hill and mountain landscapes.
If you are wondering how film and digital compare here’s a quick summary related to my equipment:
If I scan my 7 x 6cm negatives to obtain a digital file it gives a 200Mb greyscale tiff file. Converting from my scan to printing resolution gives me files with about 1 metre maximum dimension. In order to obtain a similar image size from a digital camera I would need a camera with a sensor of over 100Mp. In addition, digital cameras do not cope well with large brightness ranges such as sunlit snow with deep shadows, and need the use of special techniques to combine several different exposures of the same image to compensate. Film has all the detail on a single negative. I am also taking photographs at temperatures down to -30oC or so and have never been let down because of battery failure. The other serious disadvantage of medium format digital cameras is that they are ridiculously expensive and are currently about 7 times more expensive than the equivalent film equipment that I use, for example.
Lens
My favourite lens is a 43mm wide angle (equivalent to about 21mm on a 35mm camera). Before I was taking photographs for a living I often found myself just carrying one camera with the wide angle lens and a tripod. My motto being ‘Keep it simple, keep it light’!
Nowadays I need to be sure of getting the shot so I carry 1 camera and the 43mm and 65mm lenses. I will also often have a spare body and 43mm lens, and maybe even a 150mm lens, all safely wrapped up in the bottom of my rucsac just in case I need them. A short telephoto allows part of a scene to be pulled into the image, away from other distractions. Something in the range 75 to 120mm (on a 35mm camera) is about right.
Overall, lenses in the range 20 to 100mm (for 35mm) are the most useful for the type of hill and mountain photography that I do and you will find on my website.
Tripod
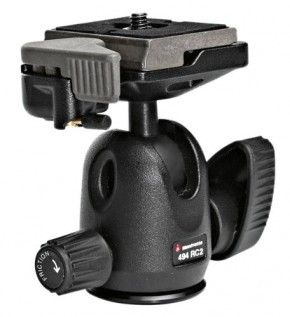
Contrary to popular wisdom about tripods, my advice for hill and mountain photography is the lighter the better. A tripod that is so heavy that you are reluctant to carry it is useless. Buy one that you don’t mind carrying and using. It should also have a quick-release head that holds the camera steady. If, after attaching the camera and plate to the tripod the camera moves when you touch it the quick-release head is too flimsy to be useful. I use Manfrotto quick-release heads. They are sturdy and reasonably priced.
If going up mountains, the tripod needs to be short enough to fit inside the rucsac so that it can’t catch on rocks and knock you off the path. If used in strong winds you can adapt to the conditions by not extending the legs very much, if at all, and splaying the legs wider. A tripod where the legs are all connected to the centre column is not that stable when used in the mountains as the legs are too close together.

I use a Gitzo 4-section series 1 carbon fibre tripod which, with a Manfrotto quick release head, weighs just 1500 grams and can be raised to 2 metres. I also have a smaller lighter series 0 version weighing just 1100 grams that I use for skiing and more arduous trips into the mountains.
Carrying the Camera
The number one criteria for a case is to buy one that does not deter you from taking pictures. For me this means that I do not use rucsac style camera cases. I want the camera to be immediately accessible no matter in what predicament I find myself. Sometimes it may not be safe to take off a rucsac and open it carefully on the ground in which case I would not take any photos. This is clearly unacceptable!
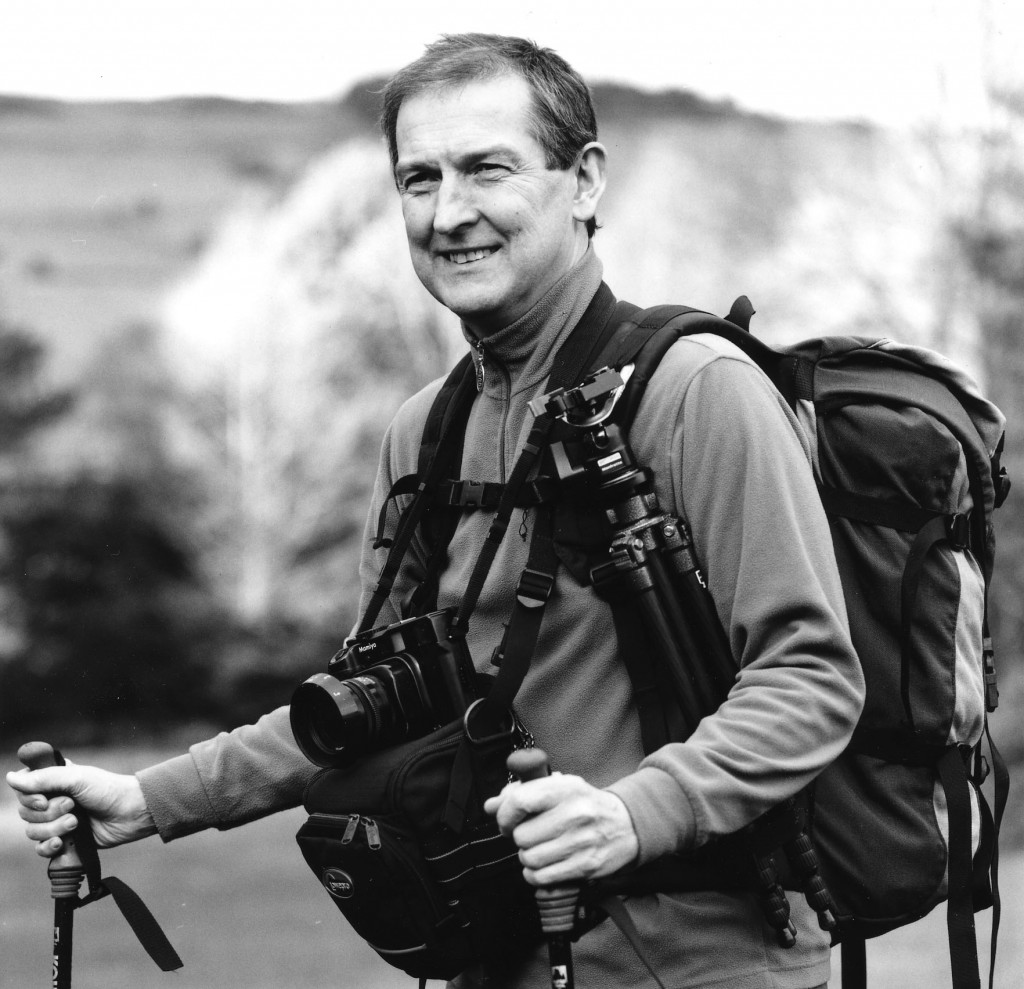
Having tried lots of different methods for carrying my camera I always come back to the same basic set up which I use for walking (hiking), backpacking, mountaineering, skiing and snowshoeing. The camera should always be immediately to hand to allow for the rapid taking of photographs when the situation arises but it also needs to be protected from banging on rocks, etc.
I only carry the camera in a rucsac when the weather is so bad that there is no chance of any photography. The rest of the time, the camera is in a padded case on my front, just above waist level held using shoulder straps and a padded waist/hip belt. I have used various cases, mostly made by LowePro, and described as Toploader cases or bumbags.
I carry a normal mountain rucsac for the rest of my hill gear and it’s large enough to take my camera gear, including the cases, when the weather closes in. The Lowepro Inverse 200 AW camera case that I currently use has a cover for use in all but the worst that the weather can throw at me, so it has to be really bad before the camera is put away in the rucsac!
The case holds a Mamiya 7 camera and lens as well as a second lens. Sometimes I also use an extra lens case strapped to the side of the camera case, to keep the 150mm lens handy. Filters, film and batteries are in the camera case too.
Carrying a Tripod
I always carry a tripod and I use the same logic that I used for the camera; the tripod must be immediately to hand.
I have 3 different ways of carrying a tripod.
The first and simplest is just to hang it from the waist belt strap of the harness by dropping one of the legs on the inside and the other 2 hang outside the strap.
Or, use a climbing karabiner with a spring loaded gate to clip around the neck of the tripod head and the legs then lay across the top of the toploader Inverse case that I most often use. This only works with my smallest tripod but is a good system when I’m skiing.
Finally, I sometimes use a similar climbing karabiner passed through a loop of the rucsac shoulder strap with the widest part of the clip facing downwards. The tripod can then be hung from this by the neck of the tripod head. To pull it back out of the way, I strap one of the legs to my rucsac waist belt or to the rucsac pole loops, useful on steep terrain where the tripod legs would otherwise hit my thighs.
Light Meter
Most cameras have built in meters which are perfectly adequate for most situations once you are used to how they should be used. However, rangefinder cameras such as the Mamiya 6 and 7’s benefit from the use of a separate meter, especially when all but the widest lenses are used as they do not meter through the lens.
I use a spot meter for everything. I have Sekonic L-508 and L-758D light meters. They are used in spot mode and I point them at light shadows and away from the sun to take a reading.
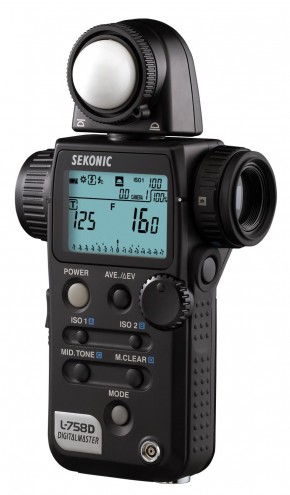
Sekonic L-758


