Darkroom Papers and Printing
Introduction
The key to good black and white printing is control of the contrast. To make it easy to follow, numbers have been assigned to contrast levels and these are referred to as grades. The scale can vary between manufacturers but typically the contrast range is numbered between grades 0 and 5. Normal contrast is around grade 2 or 3, low contrast is 0 and high contrast is 5. As the grade number increases so does the contrast.
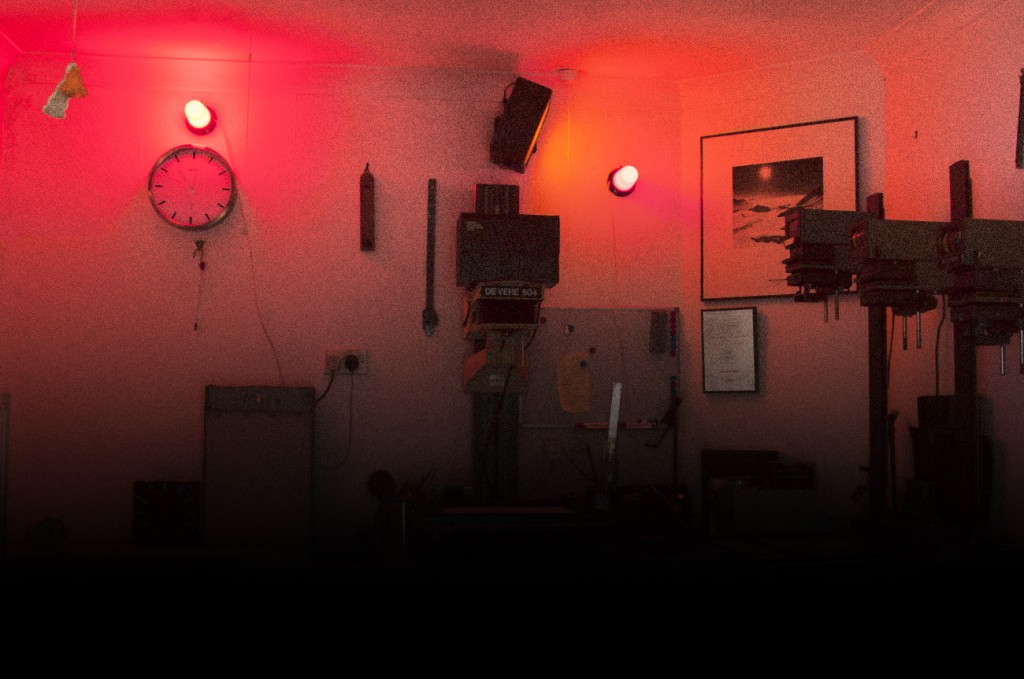
The papers are sensitive to blue and green light (as well as white light of course) but not orange and red. This means that they can be handled for exposure and processing under red or orange coloured lights. These are called safelights.
Types of photographic darkroom papers
There are 2 basic types of darkroom printing papers:
Graded: these are papers with fixed contrast. If you need to change the contrast in a print you will have to buy another box of paper with different contrast. This has led to a considerable reduction in the use of these papers and a reduced range of grades being available to buy. Ilford for example only make grades 2 and 3 for Galerie graded paper. Film needs to be processed so that the contrast of your films is roughly matched to the contrast of the paper.
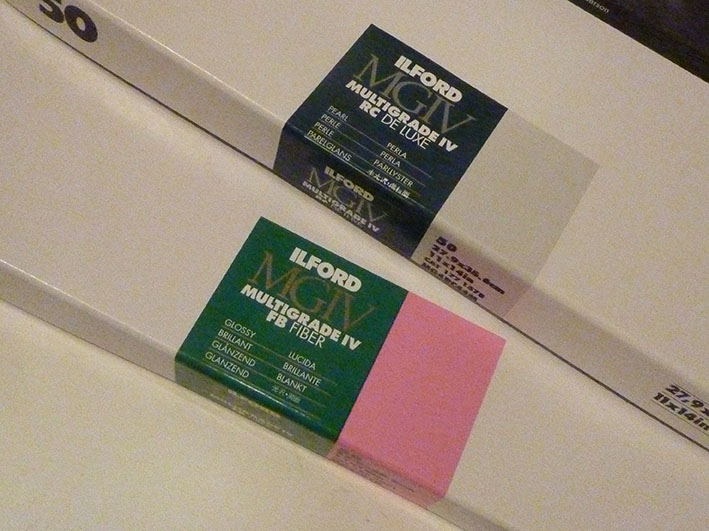
Variable Contrast, VC: This type of paper gives you all the contrasts from grades 0 to 5 in one box. You change the colour of the light used for the exposure to change the paper contrast. A leading example of this type of paper is Ilford Multigrade and it has effectively replaced graded papers for creative printing.
RC or FB:
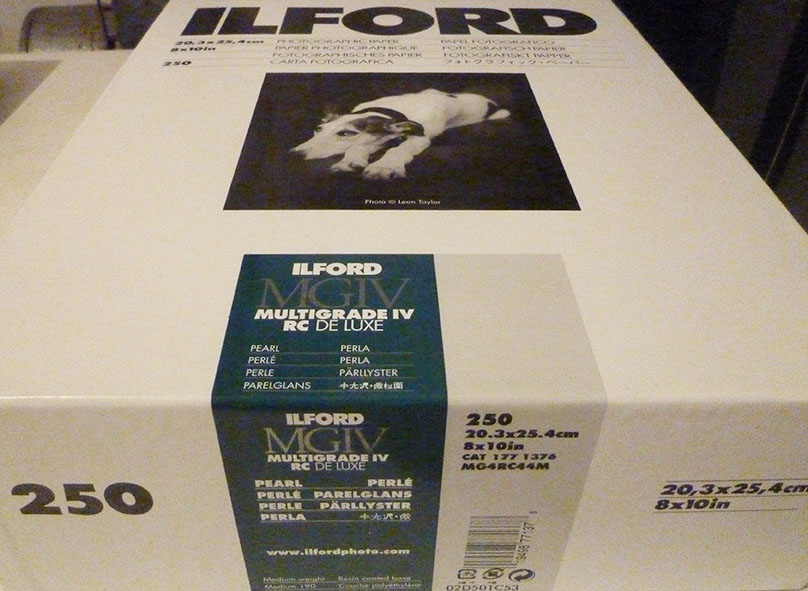
RC stands for resin-coated and is much easier and quicker to use. You will be making good prints more quickly with RC paper.
FB is for Fibre-Based. This gives the ultimate quality, maximum black density and archival lifetime. The increase in density as prints dry is very difficult to judge, even for an experienced printer. It is much more difficult to use properly so I would suggest that you don’t use FB papers until you are making good prints with RC paper.
Surfaces:
Glossy gives deepest blacks and hence greatest contrast. There will be lots of reflections off the surface making fingerprints and other marks highly visible. It is not good for situations with lots of handling of prints.
Matt gives dark grey not black when compared to a glossy print. It is best for high key images or those which don’t have strong blacks. It is also good for displaying prints in areas where there is lots of light from many directions as it will not pick up reflections on the surface.
Pearl is the compromise between glossy and matt. It is good for framing prints without a window matt as the lightly textured surface prevents patterns forming between glass and print surface. It also easier to handle as any marks are less obvious.
If you are new to darkroom printing I suggest you start with RC Pearl paper.
How photographic darkroom papers work
There is no ink in a darkroom print! The density in a black and white darkroom print is silver metal. The silver is coated with gelatin to hold it in place and is often referred to as a silver gelatin print. Contrast comes from having different levels of silver built up across the print. With VC papers it is controlled using specific colours of light.
The useful colours that make variable contrast papers work are from blue to green light. In practice, filters are used to block particular colours.
Ilford Multigrade papers contain 3 emulsions with different sensitivities to blue and green light. All 3 emulsions have the same high sensitivity to blue light which gives lots of density and this increases the contrast. Using blue-green or green light the sensitivity of each emulsion varies so this produces less density and in turn lower contrast.
In practice, exposure times are shorter using the complementary colours of yellow and magenta. A yellow filter blocks out most of the blue light for low contrast, magenta filters allow blue light to pass through resulting in high contrast.
Filters
Filters for VC papers come in various shapes and sizes. Some enlargers have VC heads with the filters built-in. These are the easiest to use.
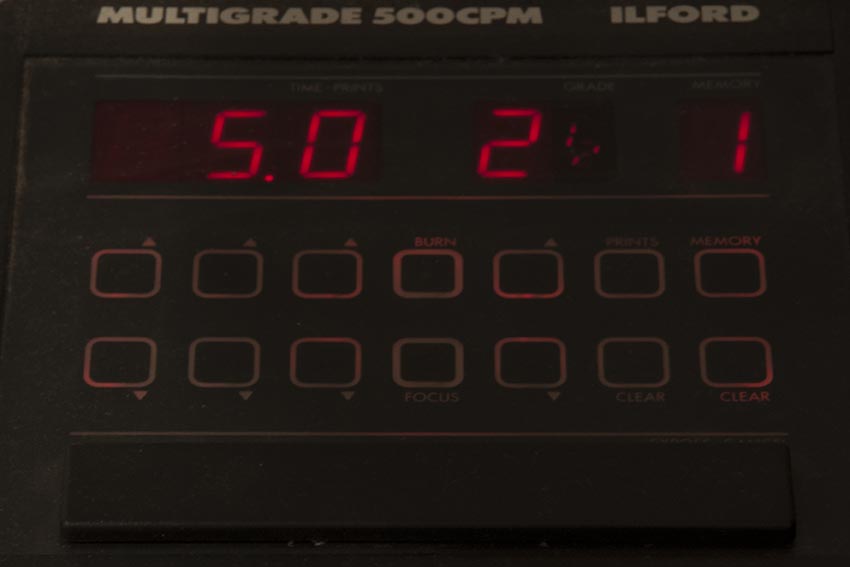
The Ilford Multigrade 500 system is the ultimate in sophistication for this type of VC enlarger system.
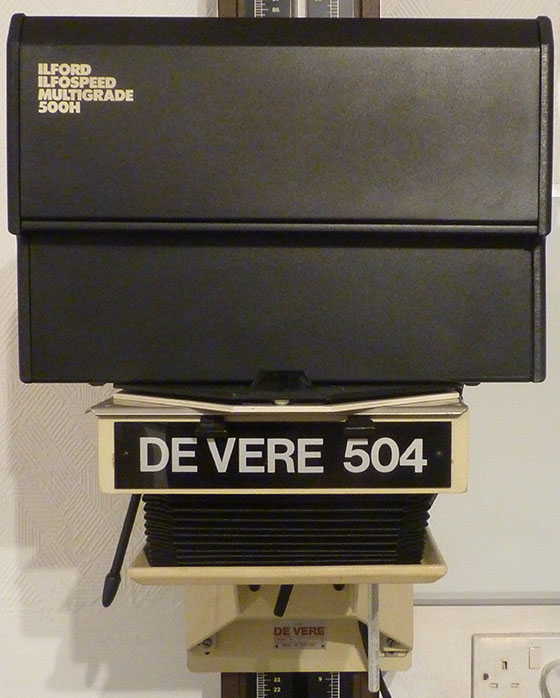
It is controlled by an electronic keypad and the Multigrade 500CPM is by far the best with 9 memories for exposures.
Under lens filters and above lens filter drawers are quite easy to use too. The filter kits cover all of the grades from 0 to 5 in ½ grade steps.
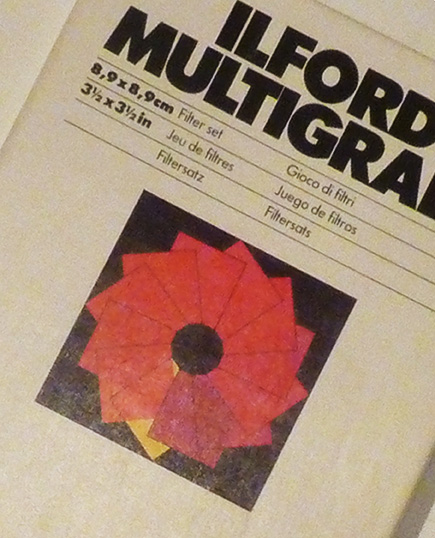
Ilford Over Lens filters are supplied in a cardboard box with internal dividers for each filter.
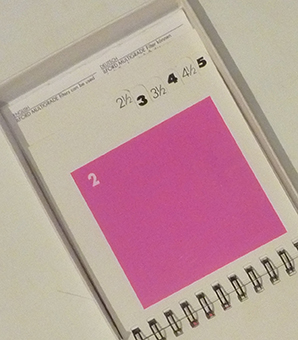
Filters are individually labelled with the grade.
Ilford under the lens filter kits are provided with a universal filter drawer that will fit any enlarger.
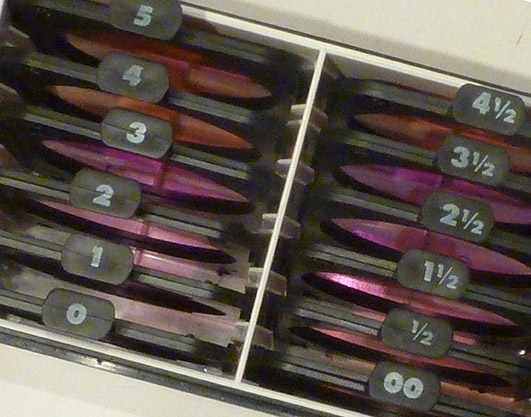
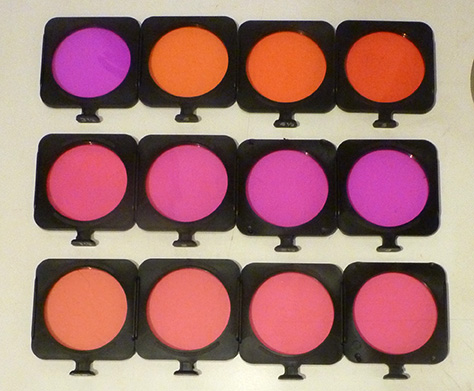
The set of Ilford Under Lens filters. Arranged left to right in half grades. Bottom left is 00, top right is grade 5.
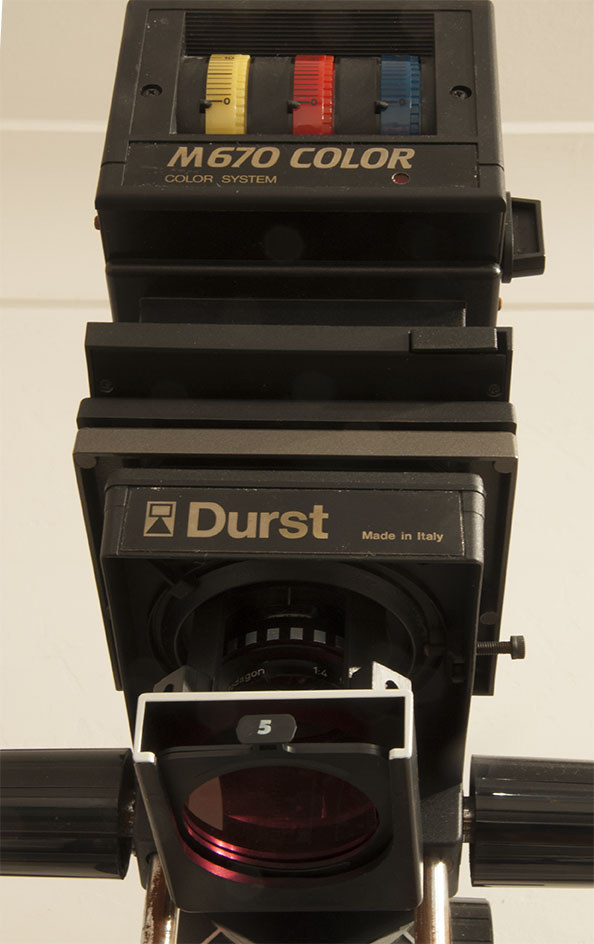
Ilford Under Lens Filter Drawer fitted to a Durst 670 Color enlarger
Colour Heads are not so easy to use but tables of filter settings for different enlarger heads are provided in every box of paper. The yellow and magenta filters built in to every colour head enlarger can be used but lack the high contrast and will not give grade 5 and some struggle to reach grade 4. Also, exposure times vary as filters are changed unlike filter kits where exposure times are constant as grades are changed.
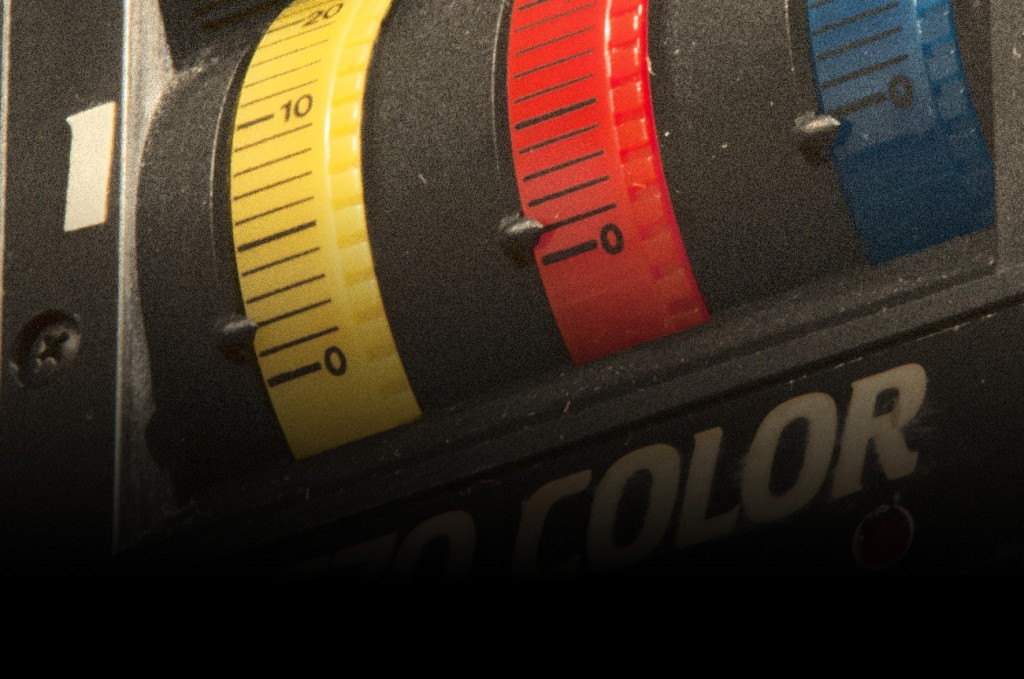
An advantage of VC and colour head enlargers is that they produce diffused light which reduces hair and dust that would be visible on prints from other types of enlarger.
The Process
To make a black and white print there are 2 essential chemical steps, Develop and Fix, with an optional Stop between them. You will need 3 dishes and they must be labelled to avoid contamination of the developer. A trace of fixer in developer can lead to inconsistent results. Use the times and dilutions stated on the products that you buy. The chemicals are usually liquid concentrates. You just pour out the required amount of each, add water and stir.
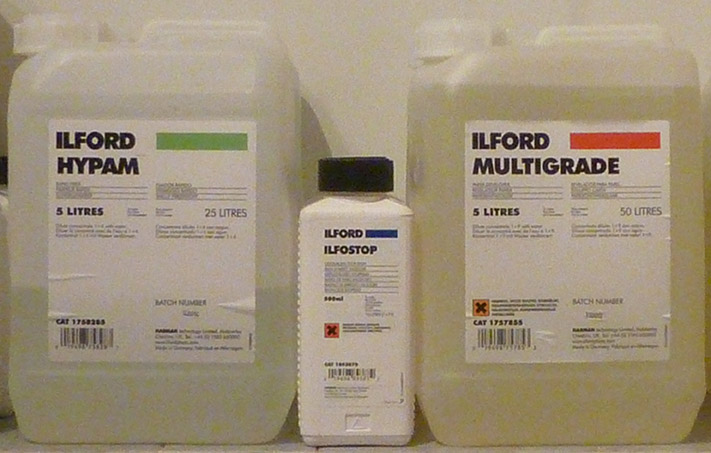
The first solution is called a developer since it develops the latent image formed in paper by the enlarger exposure. I use Ilford Multigrade developer for print processing.
The second optional step uses a so-called stop bath. The only purpose of this is to stop development by converting the print from being slightly alkaline to slightly acid. This has the effect of extending the life of the fixer so that more prints can be processed (fixer is much more expensive than stop bath!). Note, water cannot be used as a stop bath, it must be weakly acid and commercial products are either acetic (smells of vinegar) or citric acid (odourless). I use Ilford Ilfostop odourless stop bath for both film and paper processing.
The final chemical step is fixing with a fixer solution. This is essential as it makes the print stable to light by removing surplus silver that hasn’t been used in forming the image on the paper. If you skip this step your print will go black when you turn on the room lights! I use Ilford Hypam fixer for both film and paper processing.
You can now turn on the room lights.
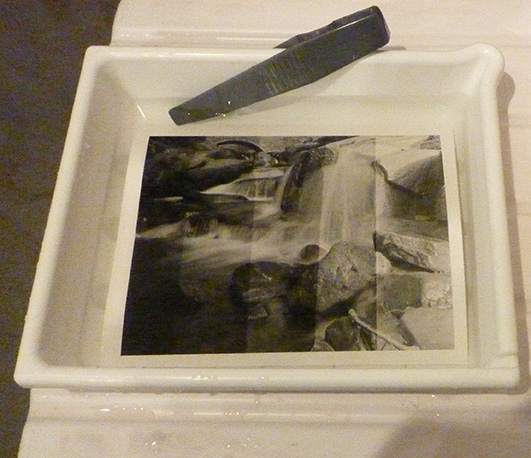
The final step is to wash your print in running water. RC papers only need about 5 minutes and the temperature has to be above 6ºC for it to be effective. FB papers need at least 30 minutes.
The print can now be hung up to dry for an hour or two on a washing line over a sink or bath, or dried with a hair dryer which usually takes a few minutes. FB papers will need many hours to dry.
During each step agitation is crucial. Don’t just put the print in the dish and wander off, rock the dish to move the chemicals around the print. This avoids local exhaustion of the chemicals in contact with the print.
Note, the basic photographic chemicals for black and white printing are not hazardous when used correctly. Follow the health and safety recommendations on the chemical packaging.
Basic Test Strips
In order to make a print you need to choose an exposure time by making a test print. In fact you usually cut strips of paper about 2 inches or so wide so that one sheet of paper does several test strips.
Take the negative carrier out of the enlarger.
Place the strip of negatives into the carrier shiny side up and select the negative that you are going to print.
Put the carrier back into the enlarger and turn it on. You should be able to read the writing at the edge of the film when you turn the enlarger on and view the image on the baseboard. If it reads backwards the negative is in upside down.
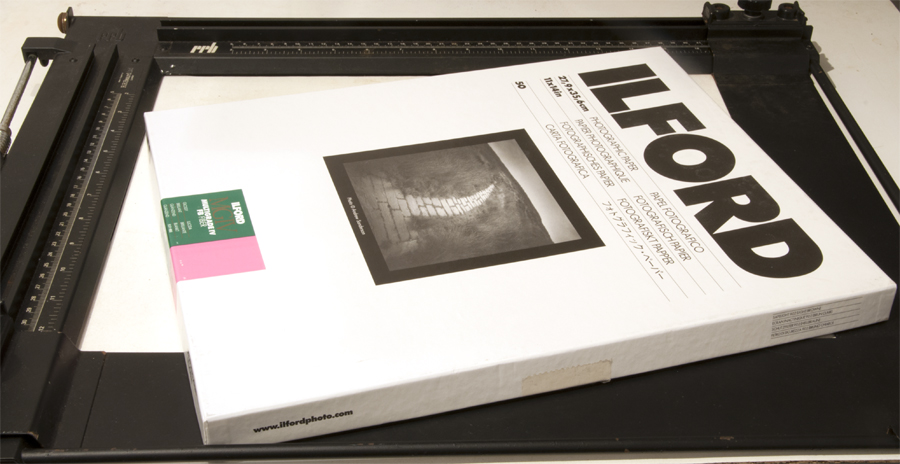
Put your paper easel on the baseboard directly under the lens and adjust the blades to the paper size you are using. This holds the paper flat and stops it moving during exposure. The blades give white borders to the print that can make your prints look quite smart.
Move the enlarger head up and down until you have the desired size image for the paper being used.
Fine-tune the focus with a grain magnifier then turn the enlarger lamp off by switching it to timer mode, assuming it has one!
Set the lens aperture to f8 or f11 for best sharpness.
Select filter 2 or 2.5 and place into the filter drawer. This is a good starting point for normal contrast negatives.
You are now ready to do a test strip.
Exposure testing
Having cut your piece of paper into 2 inch strips take one and place on the easel in part of the image so that each of several steps will have light and dark areas, if possible. You will do about 4 to 6 steps on the strip of paper so roughly work out how big each step will be. In the example here we will use 4 equal steps.
Expose the whole strip for 10 seconds.
Take a piece of card (thick enough that light can’t penetrate!) and cover up about a quarter of the length of the strip. It’s best if the paper and card surfaces touch to avoid light piping around the edges and on to adjacent steps. Stop the paper moving as you slide the card over the top of it by sticking the strip down with BluTac or similar.
Expose for a further 10 seconds.
Cover up another quarter of the strip and so on for 4 exposures.
Process the test strip as described above to give strips of density as shown here. I used steps of 2, 4, 6, 8 and 10 seconds because I was using a powerful MG500 enlarger with 600W of lamps.
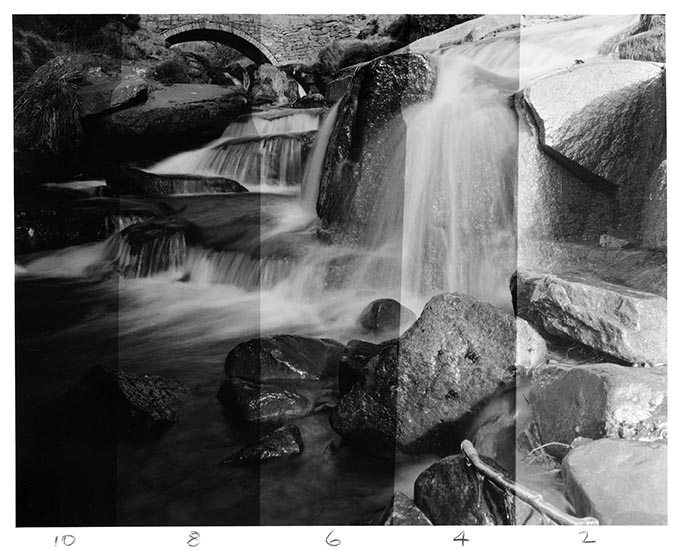
There is an alternative test strip method which doubles the time for each step. This can be useful if you don’t have a clue what the required exposure time will be. The steps would then be 10, 20, 40 and 80 seconds in this example. Hopefully, you will quickly get the feel for the likely range of exposures and the simpler method described can be used most of the time.
Note, you should avoid exposure times over 50 seconds or so as the papers rapidly lose sensitivity here. Open the aperture ring by one stop to halve the exposure times instead, for example, use f8 instead of f11.
Print Evaluation
First you need to look for the first step that shows small areas with some black, not dark grey. If you have steps where one is too light and the next too dark choose an intermediate value. If in doubt do another exposure with smaller steps. If needed as a final check, expose an entire strip at these settings before committing to a full sheet of paper. Check the strip again for blacks across the area. If the strip exposure still looks reasonable make a print on a full sheet of paper at this exposure with the same filter.
Now judge the overall image for exposure and contrast. If there are large areas of white the contrast is too high and you need to reduce the grade. If the print has lots of detail everywhere with little or no bright areas try increasing the contrast using a higher grade. If you have too much black with no detail try reducing the exposure time.
Print judgement is something that comes with practice, but the more you print the easier it becomes. The only shortcut that I know of is to come on a darkroom printing course with me!
If all else fails with exposure and contrast changes affecting the whole print then local adjustment of the density and contrast are needed. This uses simple techniques called dodging and burning or a different basic technique like split-grade printing. But that’s for another article!