It may not be obvious why depth of field and tripods are covered together so here’s a quick explanation.
Landscapes often work best when everything is in focus from front to back in your photograph. In order to do this you have to use your lens stopped down to f22 or similar. That in turn requires the use of shutter speeds slower than can be hand held so tripods, or other camera supports have to be used.
Depth of field
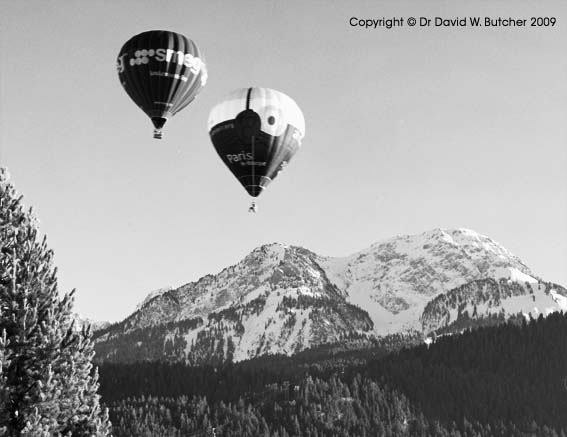
This refers to what is in focus from the front to the back in a photograph. It is often emphasised by putting something close to you in the foreground, like a rock, a tree, etc.
The impression of depth can be increased just by turning the camera around to make the picture vertical. The extra few inches from top to bottom in the print can be used to include more foreground through to distant background where this may not be possible in the more traditional ‘landscape format’ horizontal shots.
- For maximum depth of field use f22 or similar then everything will be in focus from front to back in the picture.
- To minimise depth of field use f4 or similar. I use this where there is nothing in the foreground close to the camera.
Hyperfocal Distance Focussing
Another technique that can be used to increase the actual depth in a photograph uses something termed the hyperfocal distance. The theory behind this is irrelevant to most photographers as long as an understanding of how to use it is grasped. Your camera must have manual focusing to use it. So, if you only have auto-focusing you can skip the rest of this section! However, it is an easy technique to use on cameras with lenses marked with f-stops and distances to indicate depth-of-field.
Essentially, all that is needed for maximum depth-of-field is to set the lens to f22, or whatever the maximum f-stop is for your lens. Then look at the lens markings on and next to the focus ring. There will be 2 marks for each f-stop next to the focus ring, one is beyond the infinity or focus mark (often looks like an 8 lying on its side) and another one on the opposite side of the scale for the closest focusing distance.
Turn the focus ring so that the infinity or focus mark is aligned with the maximum f-stop (f22 for our example) marking painted on the lens next to the focus ring. If you now take your picture everything will still be in focus from infinity but you have increased the foreground that will be in focus. You can check this by referring to the distance shown on the focus ring next to the f22 mark. For example, maybe instead of having everything from 8 feet to the horizon in focus it will be everything from 4 feet to the horizon in focus.
If you use hyperfocal distance focussing there is an unavoidable loss in sharpness. To avoid reducing sharpness too much try aligning with the f11 mark instead of the f22 mark. This will give a sharper result overall but you have to trade off focussing further from the camera in the foreground. Try it for yourself and find out what works best with your camera.
Tripods
In order to get sharp photographs the camera needs to be supported in some way. A tripod is the best support and is reasonably portable.
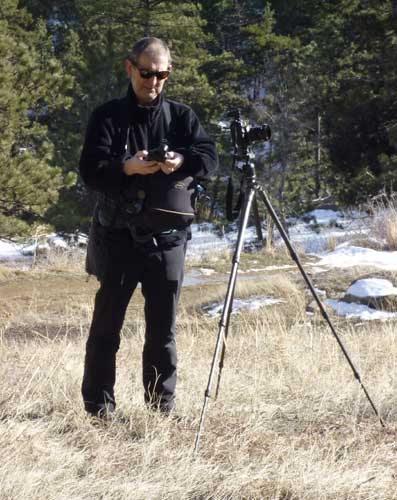
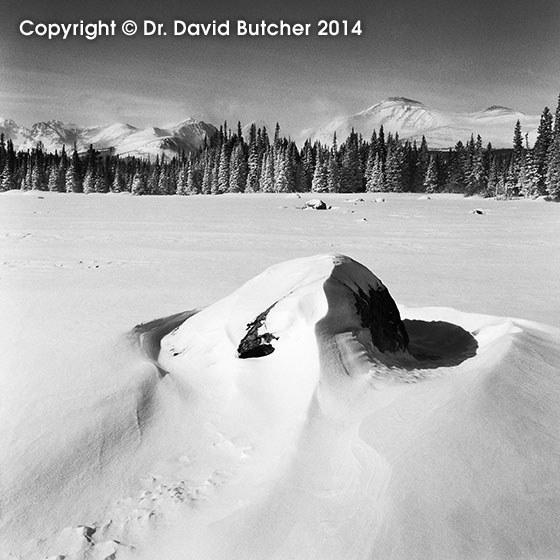
Dave Butcher taking a meter reading before photographing the Flatirons in Colorado
Contrary to popular wisdom about tripods, my advice for hill and mountain photography is the lighter the better. A tripod that is so heavy that you are reluctant to carry it is useless. Buy one that you don’t mind carrying and using.
If going up mountains, the tripod needs to be short enough to fit inside the rucsac so that it can’t catch on rocks and knock you off the path.
If used in strong winds you can adapt to the conditions by not extending the legs very much, if at all, and splaying the legs wider. A tripod where the legs are all connected to the centre column is not that stable when used in the mountains as the legs are too close together.
A cable release should be used if you have one. Alternatively, the self-timer can always be used instead. This avoids any danger of camera shake when you press the shutter.
If you don’t have a tripod with you, or it is impractical to use one, then look around for what can be used instead, such as walls, fences, rocks, etc. In the absence of anything suitable then ski or trekking poles can be used. In this case pass your wrists through the loops and plant the poles in the ground a little bit in front of you. Push against the poles while holding the camera firmly in both hands. With a bit of practice you start to think that you’re a tripod! Gently squeeze the shutter button to avoid camera shake. I’ve regularly taken shots down to 1/30 sec using this technique.
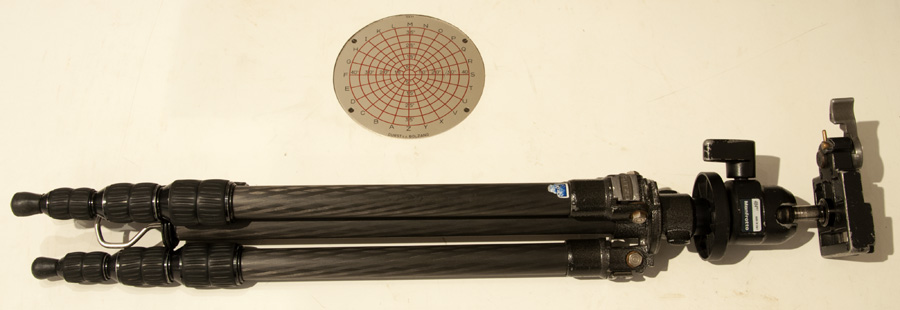
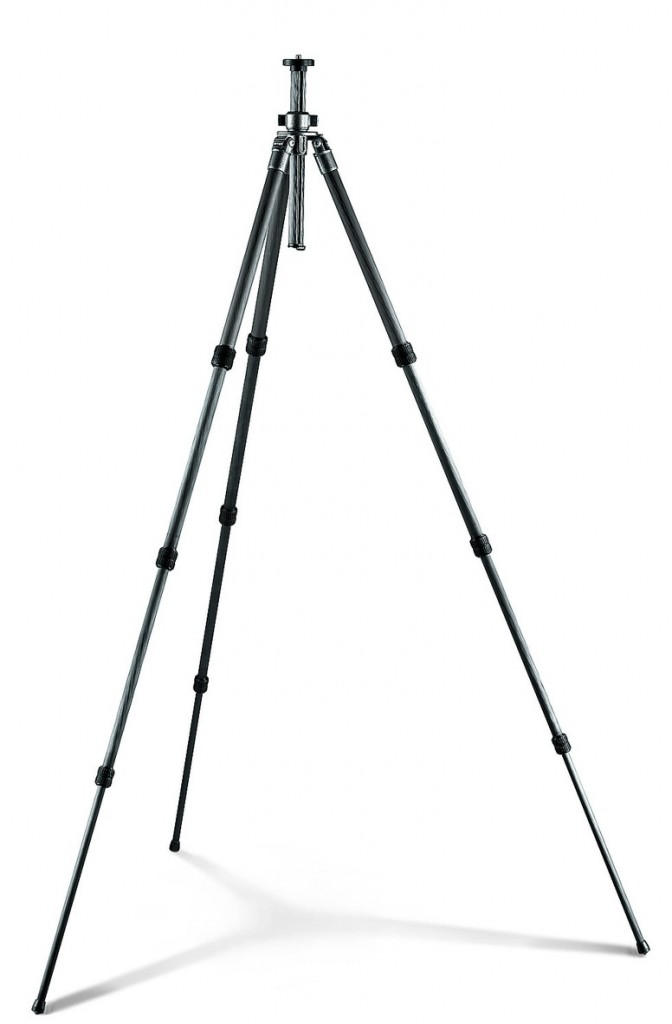
The best tripods for landscape photography are made by Gitzo, Manfrotto and 3-Legged-Thing, to name just a few. They are very sturdy, reliable and light. If you can afford a carbon fibre tripod these are the lightest of all so you will be more likely to carry them! They are a bit more expensive though.
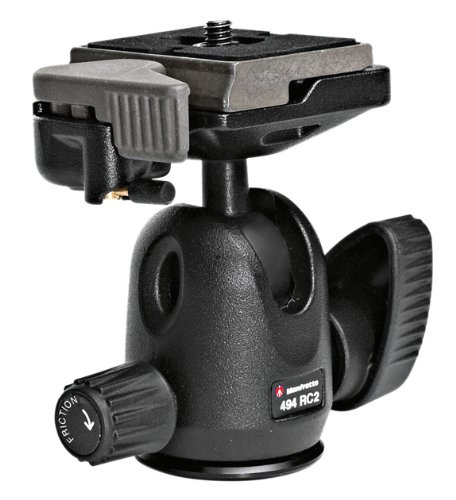
You usually buy the tripod legs separate from the tripod head so that you can select the package that is best for you. For landscapes, avoid tripod heads with lots of levers and adjustment knobs. Personally I like ball heads with just one or two tightening screws. If you are using it in the winter you need to be able to easily adjust the head while wearing thick gloves.
I would also suggest that you buy a quick-release tripod head to reduce the setup time before you can start taking photographs. In fast changing light you don’t want to miss that shot of a lifetime! I use Manfrotto quick-release heads. They are sturdy and reasonably priced.
I use a Gitzo 4-section series 1 carbon fibre tripod which, with a Manfrotto quick release head, weighs just 1500 grams and can be raised to 2 metres. I also have a smaller lighter series 0 version weighing just 1100 grams that I use for skiing and more arduous trips into the mountains.