Darkroom Dave is my new website for all things technical that I do.
The first job was to copy or move articles from my main shopping cart website, www.davebutcher.co.uk
I edited the text as I brought it across to make it current. Some went into the Tutorials section and others into the FAQ’s. From here I could see what was missing and wrote the new content.
Right at the start Andy, my web and marketing man in Sheffield, insisted that it should have videos. They are much easier to follow than my usual text descriptions. The stumbling block was that I had no equipment to do them and no idea where to start.
From a quick trawl of the web and a few tests with Jan’s Nikon D90 I could see that I needed a better camera than a digital SLR if I wanted to capture anything under darkroom safelights!
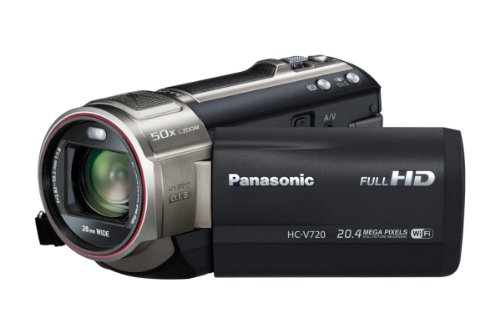
A Camcorder seemed to be what I needed so after a bit of research I ended up with a Panasonic V720, said to work well under low light conditions. I also read quite a few reports of poor sound with built-in microphones so I added an Audio Technica external microphone (I bought a camcorder with a suitable socket for one of these!). In all I was set up for a bit under £400.
The next hurdle was learning to use the new camcorder. Fortunately, I don’t need too many of the controls for what I’m doing so it didn’t take too long. I’m mostly using it at the widest focal length of 28mm, with the low light setting. The screen rotates towards me so that I can see what I’m doing as I’m recording myself. Having to use a horizontal image goes against the grain in some cases, I can see the better composition would be with the camera vertical but the video needs to use the full width of the screen.
Editing was a problem. I could see that some editing would be needed but it took a while to work out a process that worked for me. I have an iMac computer which comes with iMovie pre-installed so that was an obvious starting point. Unfortunately the AVCHD file format from the camera is not handled by iMovie directly, it has to go via the QuickTime Player, also pre-installed on the iMac. This has an export command to convert to .mov file format. This is then edited within iMovie and ends up as .m4v file format, similar to .mp4 but the Apple version.
Once in iMovie I could select chunks of video, play them within the editor, move the start and finish to suit the best replay and then add to previously selected chunks to build up each video in 3 or 4 bits. They are then exported to a small file size for playing on mobile phones, etc. Sounds simple when you see it written down but it took several weeks of trying different options, while fitting it in around everything else that we do within the business.
The recording and editing are relatively fast to do but the file conversions waste quite a lot of time.
Hope that makes sense and you enjoy the results of my labours!


